Dealing with a leaking kitchen faucet can be a frustrating experience. The constant drip not only wastes water but can also lead to other issues like mold and water damage. Fortunately, you don’t need to be a professional plumber to fix a leaking faucet.
In this step-by-step guide, we’ll walk you through the process of repairing your leaking kitchen faucet, saving you time and money.
| Takeaways |
|---|
| 1. Identify common causes of faucet leaks. |
| 2. Gather essential tools and materials. |
| 3. Shut off the water supply before repair. |
| 4. Disassemble the faucet carefully. |
| 5. Inspect and replace worn-out parts. |
| 6. Test the repaired faucet for leaks. |
| 7. Regular maintenance prevents future leaks. |
2. Understanding the Common Causes of Leaks
Before diving into the repair process, it’s essential to understand what might be causing the leak. Refer to the table below for a quick overview of common causes.
Refrigerator Troubleshooting: If your refrigerator is acting up, don’t panic. Follow this guide for practical DIY fixes, ensuring your fridge runs smoothly and keeps your groceries fresh.
Common Causes of Faucet Leaks
| Cause | Description |
|---|---|
| Worn Out O-Rings | Rubber rings that can degrade over time. |
| Damaged Washers | Flat disks that create a seal, prone to wear and tear. |
| Faulty Cartridges | Control water flow, and defects can lead to leaks. |
| Leaky Spout | Issues within the spout assembly. |
| Handle Leaks | Problems with the faucet handles. |
Understanding the root cause will guide your repair process effectively.
3. Essential Tools and Materials
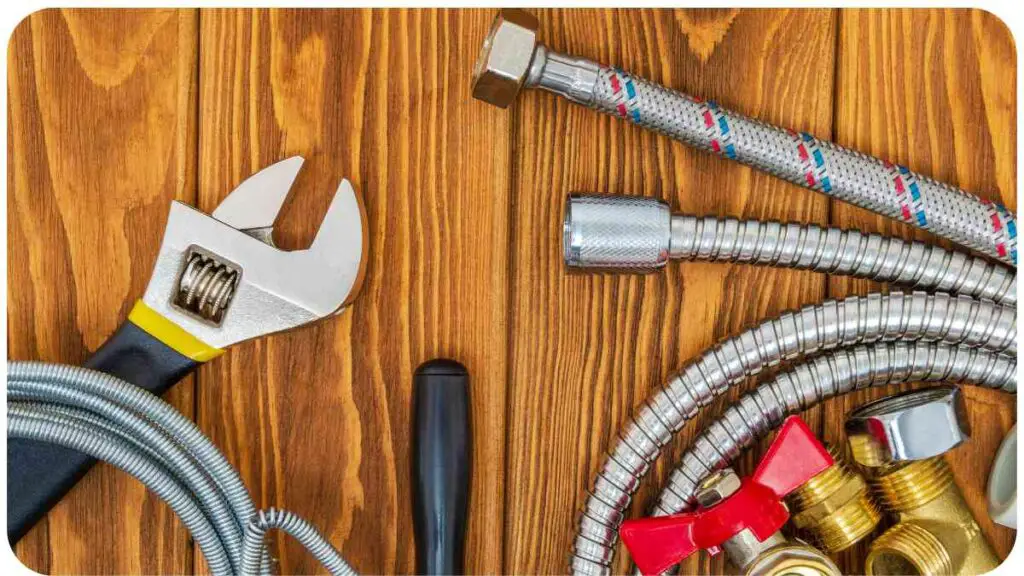
Before starting the repair, gather the necessary tools and materials. Check the table for a comprehensive checklist.
Tools and Materials Checklist
| Tools | Materials |
|---|---|
| Adjustable Wrench | Replacement O-Rings |
| Plumber’s Tape | New Washers |
| Screwdriver | Faucet Grease |
| Allen Wrench | Replacement Cartridges |
| Plunger | Plumber’s Putty |
| Pipe Cutter | Teflon Tape |
Having the right tools ensures a smoother repair experience.
4. Shutting Off the Water Supply

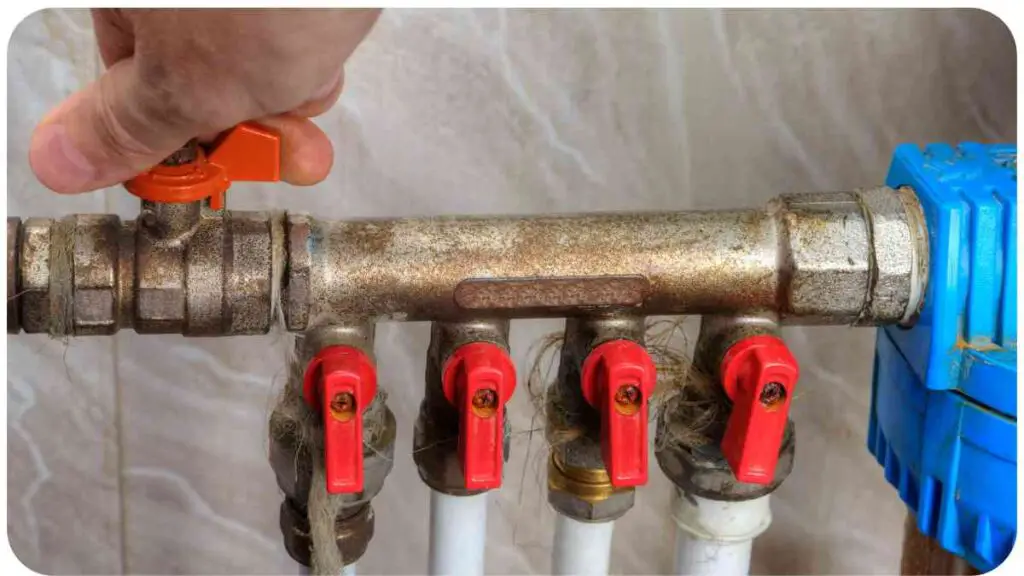
Before you start disassembling your faucet, turn off the water supply to avoid any mess. Locate the shut-off valves under the sink and turn them clockwise until they are fully closed.
Kitchen Sink Drain Repair: Leaky kitchen sink drains can be a hassle. Learn effective DIY solutions to repair your kitchen sink drain and prevent water damage in your home.
5. Disassembling the Faucet
Now, let’s take apart the faucet to identify the source of the leak. Refer to the table for a breakdown of faucet parts and their descriptions.
Faucet Parts and Descriptions
| Part | Description |
|---|---|
| Handle | Controls water flow and temperature. |
| Spout | Water outlet, can develop leaks. |
| Cartridge | Regulates water flow, a common culprit for leaks. |
| O-Rings and Washers | Create seals to prevent leaks. |
| Valve Seat | Connects the spout to the faucet body. |
Understanding the components will make the disassembly process more manageable.
6. Identifying and Inspecting O-Rings and Washers
O-Rings and washers are common sources of leaks. Inspect them for wear and tear using the appropriate sizes detailed in the table below.
DIY Dishwasher Installation: Save money and time by installing your dishwasher with this comprehensive step-by-step guide. DIY dishwasher installation made easy, ensuring a functional and efficient kitchen.
O-Ring and Washer Sizes
| Part | Size |
|---|---|
| O-Ring | Measure diameter and thickness. |
| Washer | Measure outer and inner diameter. |
Identifying the right sizes ensures a precise replacement.
7. Replacing O-Rings and Washers

Once you’ve identified the worn-out O-Rings and washers, replace them with new ones. Apply plumber’s grease to ensure proper sealing. Tighten the faucet back together.
8. Examining the Cartridge and Valve Seat
The cartridge and valve seat play a crucial role in controlling water flow. Refer to the table for specifications.
Cartridge and Valve Seat Specifications
| Part | Specification |
|---|---|
| Cartridge | Check for cracks or defects. |
| Valve Seat | Inspect for wear or corrosion. |
If any issues are found, proceed to the next step.
9. Replacing Faulty Cartridges
If the cartridge or valve seat is faulty, replace them with new ones. Ensure a secure fit to prevent future leaks.
10. Fixing a Leaky Spout
If the spout is leaking, follow the solutions outlined in the table below.
Garbage Disposal Guide: Is your garbage disposal acting up? Fix it yourself with this detailed guide, offering step-by-step instructions to troubleshoot and repair common garbage disposal issues.
Spout Leak Solutions
| Issue | Solution |
|---|---|
| Loose Connections | Tighten connections with an adjustable wrench. |
| Damaged Seals | Replace seals within the spout assembly. |
| Corroded Components | Clean or replace corroded parts. |
Addressing the specific issue will resolve the spout leak.
11. Addressing Handle Leaks
Handle leaks can be caused by various factors. Troubleshoot using the table below.
Handle Leak Troubleshooting
| Issue | Troubleshooting Steps |
|---|---|
| Loose Handles | Tighten screws or adjust handle connections. |
| Damaged Cartridge | Replace the cartridge if damaged. |
| Worn-out Seals | Replace seals within the handle assembly. |
Identifying the issue helps in targeted troubleshooting.
12. Putting It All Back Together
With the necessary repairs completed, reassemble the faucet in reverse order. Ensure all parts are securely tightened.
13. Turning On the Water Supply

Once everything is back in place, turn on the water supply and check for any leaks. Address any issues promptly.
14. Checking for Leaks and Testing the Repair
After turning on the water, inspect the faucet for leaks. Test by running water at different temperatures and flow rates.
Kitchen Sink Unblock Tips: Don’t let a clogged kitchen sink ruin your day. Explore expert tips and tricks to effectively unblock your kitchen sink, keeping your kitchen plumbing in top shape.
15. Additional Tips for Faucet Maintenance
Maintaining your kitchen faucet can prevent future leaks. Refer to the table for valuable tips.
Maintenance Tips for a Leak-Free Faucet
| Tip | Description |
|---|---|
| Regular Cleaning | Remove mineral deposits and debris. |
| Lubricate Moving Parts | Apply silicone-based lubricant to prevent friction. |
| Prompt Repairs |
| Tip | Description |
|---|---|
| Prompt Repairs | Address leaks as soon as they are noticed. |
| Water Pressure Control | Avoid high water pressure to reduce stress on components. |
| Annual Inspections | Conduct thorough inspections for signs of wear. |
| Silicone Sealing | Apply silicone sealant to vulnerable areas. |
Following these maintenance tips can prolong the life of your faucet and prevent future leaks.
16. Conclusion
Repairing a leaking kitchen faucet may seem daunting, but with the right guidance and tools, it can be a straightforward process. By understanding the common causes of leaks, using the correct tools, and following a step-by-step approach, you can save both time and money on plumbing services.
Remember to regularly maintain your faucet to prevent future issues and enjoy a leak-free kitchen.
In this guide, we’ve covered everything from shutting off the water supply to testing the repaired faucet. Armed with this knowledge, you can confidently tackle the next household plumbing challenge. Happy repairing!
Further Reading
Here are some additional resources to help you further understand and tackle faucet leaks:
- Forbes – How to Fix a Leaky Faucet: Forbes provides a comprehensive guide on repairing leaky faucets, offering step-by-step instructions and helpful tips.
- Lowe’s – Repairing a Leaky Faucet: Lowe’s offers valuable insights into fixing leaky faucets, including video tutorials and product recommendations.
- This Old House – Stopping Kitchen Faucet Leaks: This Old House shares expert advice and practical solutions for addressing kitchen faucet leaks, helping you maintain a functional and efficient kitchen.
FAQs
Here are some frequently asked questions about repairing a leaking kitchen faucet:
How do I know if my kitchen faucet is leaking?
A leaking faucet typically results in water dripping or running constantly, even when the faucet is turned off. You may also notice water pooling around the base of the faucet.
What are the common causes of kitchen faucet leaks?
Kitchen faucet leaks can be caused by worn-out O-rings, damaged washers, faulty cartridges, or corroded components within the faucet assembly.
Can I repair a leaking faucet myself?
Yes, many faucet leaks can be repaired by homeowners with basic plumbing skills and the right tools. Most faucet repair kits come with detailed instructions to guide you through the process.
Do I need to shut off the water supply before repairing a leaky faucet?
Yes, it’s essential to shut off the water supply to the faucet before attempting any repairs. This prevents water from spraying or leaking while you work on the faucet.
How often should I inspect my kitchen faucet for leaks?
It’s a good idea to inspect your kitchen faucet regularly for signs of leaks or wear and tear. Conducting a visual inspection every few months can help you catch and address any issues early on.

Hellen James is the author of the blog and a licensed plumber with over 15 years of experience. She shares her knowledge and experience in plumbing and drainage through insightful and informative articles

