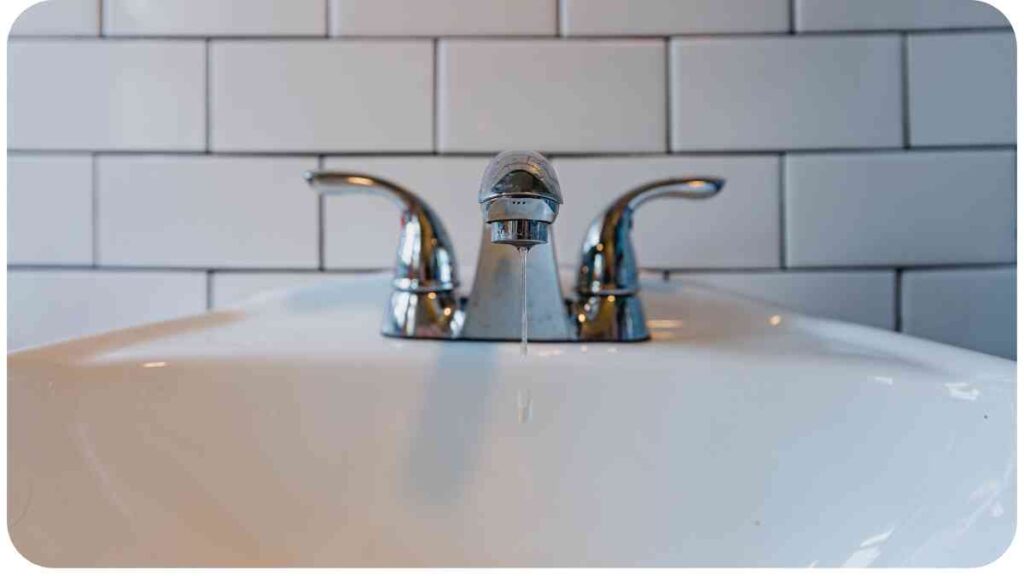
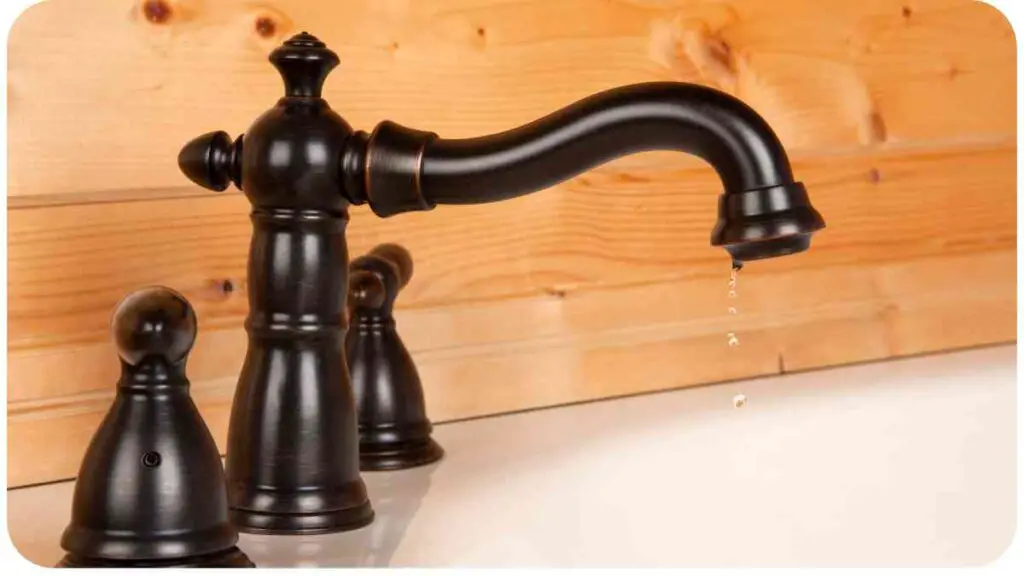
A dripping kitchen faucet can be annoying and costly, but fortunately, there are steps you can take to troubleshoot and fix this common issue. In this article, we will guide you through the process of stopping your kitchen faucet from dripping.
We will cover the underlying causes of the problem, the tools you will need, and the troubleshooting steps to follow. By the end of this article, you will have the knowledge and confidence to tackle this issue on your own.
| Takeaways |
| Understand the causes of a dripping faucet |
| Gather the necessary tools for troubleshooting |
| Follow the step-by-step troubleshooting process |
| Address common issues and their respective solutions |
| Know when it’s best to call a professional plumber |
| Learn preventative maintenance tips to avoid future dripping faucet issues |
2. Understanding the Causes of a Dripping Faucet
Before diving into the troubleshooting process, it’s important to understand why your kitchen faucet is dripping. There are several potential causes, including worn-out O-rings, faulty cartridges or valve stems, mineral buildup in the aerator, or loose handle or parts. Identifying the root cause will help you determine the appropriate solution.
If your kitchen sink drain is causing problems, it’s crucial to address it promptly. Follow these DIY solutions to fix a leaking sink drain and prevent further issues. Don’t let leaks linger; take action today.
3. Tools You Will Need
Before getting started, gather the following tools:
| Tools |
| Adjustable wrench |
| Screwdriver |
| Plumber’s tape |
| Cleaning brush |
| Replacement parts |
| Bucket or towel |
Having these tools on hand will make the troubleshooting process easier and more efficient.
4. Troubleshooting Steps
4.1 Check for Loose Handles or Parts
Begin by checking if any handles or parts of the faucet are loose. A loose handle or faucet can cause dripping. Use an adjustable wrench to tighten any loose nuts or screws.
4.2 Replace Faulty O-Rings
Worn-out O-rings can cause leaks and dripping. To replace the O-rings, follow these steps:
- Close the water supply to the faucet.
- Use a screwdriver to remove the handle.
- Locate the O-rings on the cartridge or valve stem and remove them.
- Insert new O-rings, ensuring they fit snugly.
- Reassemble the faucet.
A malfunctioning garbage disposal can disrupt your kitchen routine. This step-by-step guide provides valuable insights to help you fix it efficiently. Say goodbye to disposal woes with these expert tips.
4.3 Inspect the Cartridge or Valve Stem

If the dripping persists, the cartridge or valve stem might be at fault. Here’s what you should do:
- Turn off the water supply.
- Remove the handle and any decorative caps.
- Take out the cartridge or valve stem.
- Inspect it for signs of wear or damage.
- If necessary, replace the cartridge or valve stem with a new one.
- Reassemble the faucet.
4.4 Clean or Replace the Aerator
Mineral buildup in the aerator can cause improper water flow and dripping. Follow these steps to clean or replace the aerator:
- Unscrew the aerator from the faucet spout.
- Clean the aerator thoroughly using a cleaning brush.
- If cleaning doesn’t solve the problem, consider replacing the aerator with a new one.
- Reattach the aerator to the faucet.
A clogged shower drain is a common nuisance. Learn how to unclog it with our comprehensive guide. Follow the step-by-step instructions to enjoy hassle-free, unclogged showers in no time.
5. Common Issues and Solutions

In this section, we will address some common scenarios and provide solutions to resolve them.
5.1 Dripping at the Handle Base
If you notice dripping at the handle base, the problem might be with the handle mechanism or seals. Tightening loose parts or replacing worn-out seals can help resolve this issue.
5.2 Constant Dripping from the Spout
When the faucet drips continuously from the spout, a faulty cartridge or valve stem is often to blame. Follow the troubleshooting steps outlined earlier to replace these components.
5.3 Dripping after Turning Off the Faucet
If your faucet continues to drip after turning it off, the problem may lie with the valve seat or the rubber washer. Replacing the rubber washer or cleaning the valve seat can often rectify this issue.
Is your smart microwave not heating properly? Troubleshoot the issue with these tips. Discover the reasons behind heating problems and regain the full functionality of your kitchen appliance.
5.4 Dripping from the Aerator
If the faucet drips from the aerator, mineral buildup or a damaged aerator could be the cause. The troubleshooting steps mentioned earlier, such as cleaning or replacing the aerator, should resolve this issue. Ensure that the aerator is tightly screwed back onto the faucet after cleaning or replacing.
6. When to Call a Professional
While many dripping faucet issues can be resolved with DIY troubleshooting, there are cases where it is best to call a professional plumber. If you encounter any of the following situations, it’s recommended to seek professional assistance:
- The problem persists after attempting the troubleshooting steps.
- You are unsure about how to disassemble or reassemble the faucet.
- Your faucet requires specialized tools or replacement parts that you don’t have access to.
Calling a professional plumber ensures that the issue is handled correctly, saving you time and potential frustration.
7. Preventative Maintenance Tips
To avoid encountering a dripping faucet in the first place, here are some preventative maintenance tips:
7.1 Regularly Inspect and Clean Your Faucet
Periodically inspect your kitchen faucet for any signs of wear, leaks, or loose parts. Clean the faucet and aerator regularly to remove mineral buildup, ensuring proper functionality.
7.2 Avoid Excessive Force
Avoid applying excessive force when turning off the faucet. Being gentle will not only prevent wear and tear but also reduce the likelihood of internal damage that can lead to leaks.
Don’t let a stuck toilet handle disrupt your daily routine. Follow this DIY guide to resolve the issue quickly and efficiently. Say goodbye to toilet handle troubles with these easy-to-follow instructions.
7.3 Use Quality Replacement Parts
When replacing any components or parts of your faucet, choose high-quality replacements. This ensures durability and decreases the chances of future leaks or dripping.
7.4 Opt for Professional Installation
If you are replacing your entire faucet or undertaking a major plumbing project, consider opting for professional installation. Professional plumbers have the expertise and experience to ensure proper installation, reducing the likelihood of future issues.
8. Conclusion
We hope this article has empowered you with the knowledge and troubleshooting techniques needed to stop your kitchen faucet from dripping.
Remember, by understanding the causes, following the proper steps, and performing regular maintenance, you can maintain a drip-free faucet in your kitchen.
However, in cases where the issue persists or you lack the necessary tools or expertise, it’s always best to call a professional plumber. Keep these tips in mind, and may you enjoy a leak-free kitchen faucet for years to come!
Further Reading
Here are some additional resources where you can find more information on troubleshooting and maintaining your kitchen faucet:
- The 4 Do’s and Don’ts of Lighting Your Bathroom with Smart Bulbs: This blog post provides helpful tips and guidelines for effectively using smart bulbs in your bathroom. Learn about the dos and don’ts to enhance your lighting setup.
- The Ultimate Guide to Smart Bulbs and Dimming in the Bathroom: This comprehensive guide offers insights into integrating smart bulbs and dimming features specifically in bathroom environments. Discover the benefits, installation tips, and best practices for achieving optimal lighting control.
- Smart Lights: Practical Uses in the Bathroom: This article explores the practical applications of smart lights in the bathroom. Gain inspiration and ideas for utilizing smart lighting technologies to enhance your bathroom experience.
FAQs
Here are some frequently asked questions about troubleshooting kitchen faucet issues:
What should I do if my kitchen faucet is dripping?
If your kitchen faucet is dripping, there are a few troubleshooting steps you can take. First, check for loose handles or parts and tighten them if necessary. If that doesn’t solve the issue, you may need to replace faulty O-rings, inspect the cartridge or valve stem, or clean or replace the aerator.
How do I know if the O-rings in my faucet are worn out?
Worn-out O-rings can cause leaks and dripping. You can typically spot signs of wear by examining the O-rings for cracks, brittleness, or deformation. If they appear damaged or deteriorated, it’s recommended to replace them.
Can I fix a dripping faucet by myself?
In many cases, a dripping faucet can be fixed with some basic DIY troubleshooting. However, it’s important to assess your comfort level and knowledge before attempting any repairs. If you’re unsure or lack the necessary tools, it’s advisable to call a professional plumber.
How often should I clean my faucet aerator?
Cleaning your faucet aerator regularly is a good practice to maintain proper water flow and prevent mineral buildup. It’s recommended to clean the aerator every few months or whenever you notice reduced water pressure or aerator clogging.
What steps can I take to prevent a dripping faucet?
To prevent a dripping faucet, regular maintenance is crucial. Inspect your faucet periodically for wear, clean the aerator to remove mineral buildup, avoid excessive force when turning off the faucet, and use quality replacement parts when necessary. These steps can help prolong the lifespan of your faucet and minimize the chances of leaks.

Hellen James is the author of the blog and a licensed plumber with over 15 years of experience. She shares her knowledge and experience in plumbing and drainage through insightful and informative articles

